Activity: Writing a Museum Label for Objects in Your Own Home
![]()
Museums have lots of roles to play. But the two most important are:
- to care for and keep track of their collections
- to share their wonderful objects with the world through exhibitions, events and online
Today, we will be trying our hand at writing museum labels. Labels help museum staff keep a record of what they know about their objects, and share what they know with their visitors.
Writing a Label
Museums can contain thousands, sometimes millions, of objects. When a collection is this big, we need to keep track of each object. Everything is given a number, and important information that will help us identify and research that object is recorded,usually on a database.
During the three different COVID-19 lockdowns our staff have really missed being in the museums doing the jobs that they love. Some have taken this to extreme measures and have even started cataloguing objects and animals in and around their own homes and writing labels for them!
What are those numbers?
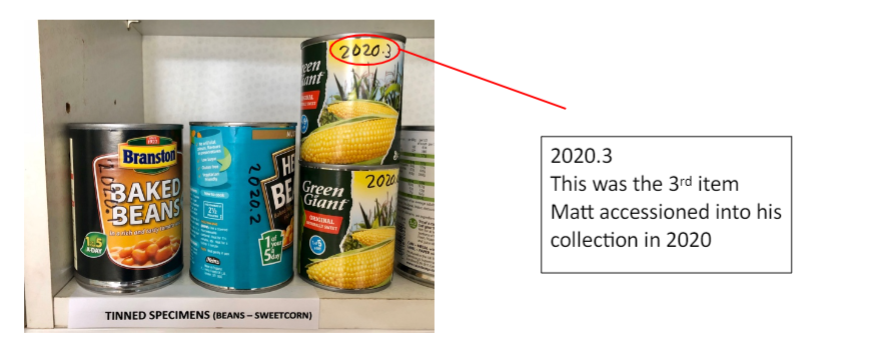
On museum object labels, you may notice a list of numbers. These are sometimes written on the object too. This is called an Accession Number. Each one is unique to the object and will include the year that the object was “accessioned” or brought into the museum’s collection. Matt Lowe at the Museum of Zoology even put accession numbers on his baked beans.
Today we challenge you to take on the role of museum curator and write your own museum label for an object – any object! – in your home!
Maybe you have something that you collect: soft toys, pencils or books by your favourite author. Perhaps it is something that there is a lot of in your house: mugs or teaspoons for example.
Stage One: Record the essential information about your object
- Choose the first object you will enter into your collection. It can be anything at all. I want you to really look at it.
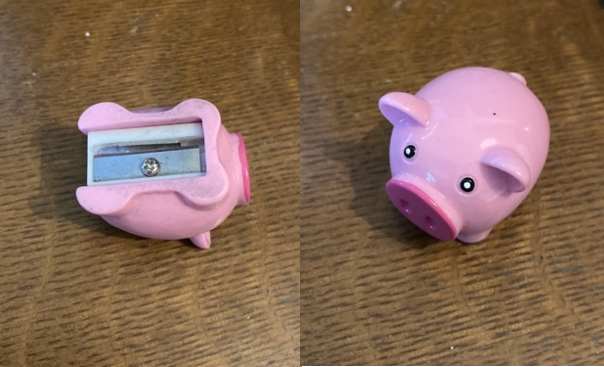
I am going to pick my pencil sharpener
- Choose the essential information that you will record. What is it made from? It is just one material or lots of different materials? Is it damaged at all? What colour is it? Do you know when you got it?
My pencil sharpener is made of plastic and metal. I can see five different colours and it is a little bit dirty on the bottom.
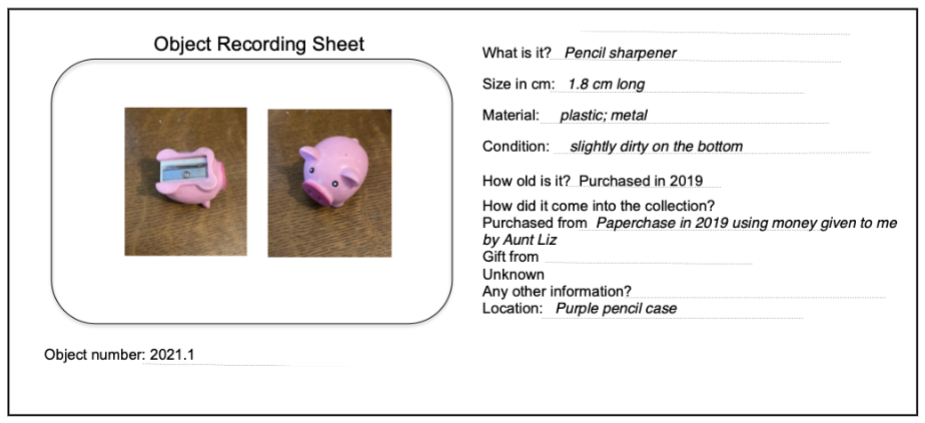
- We’ve put a suggested artefact recording sheet below, but there might be other important aspects you would like to add to the document. Add a photograph or drawing in the top section.
Your object is now safely recorded into your collection!
Stage Two: Write a label to communicate the story of your object
Museums write in different styles depending on who they are trying to communicate with. The information you have recorded about your object is really important to identify it, but it might not make a very exciting label in an exhibition.
In an exhibition, a museum curator will put on display a group of objects that can tell a bigger story when they are viewed together. Exhibitions are designed to get visitors excited about the story they tell or subject they explore. Even the most ordinary object can be fascinating if it is described in an interesting way.
Now you have recorded the essential information about your object, it’s time to think about what story you want it to tell your visitor.
We asked Dr Mark Elliott from the Museum of Archaeology and Anthropology to give us his top tips for writing an exhibition label:
- Think about your title. it doesn’t have to be “mask” or “Jug”. Pick something that draws attention (it has a number anyway - people will be able to match the object to the caption that way).
- Be clear and simple: you don’t have to be complicated to be clever.
- Why is it special? What do you want the viewer to see or understand about the object? If they don’t understand why you chose this thing over all the other things you could have chosen, why would they want to see it?
- Why is it here? How did it get here? This may be the same as number 3.
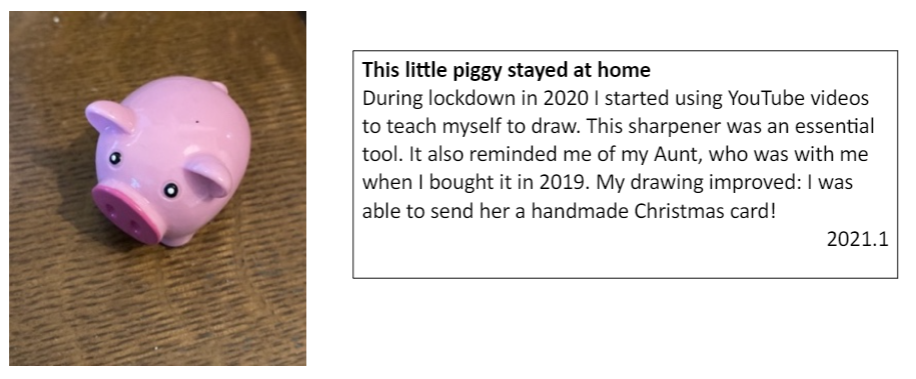
Here is my final label. What do you think? What information is missing? Does it tell you what you need to know? How is it different to the recording sheet?
Download the worksheet at the top of this page for the full object recording sheet!
Make sure you take time to reflect on and record the skills you've used and learnt in today's activity!